
CEA Plugins - Part 3: Introduction to the CEA plugin template
Author - Daren Thomas
The easiest was to get started creating your own plugin is to start with the CEA plugin template. In this article, we'll get you started with your own plugin based on the CEA plugin template on GitHub.
This is part 3 in a series of articles on CEA plugins:
Part 3: Introduction to the CEA plugin template (this article)
Introduction to the CEA plugin template
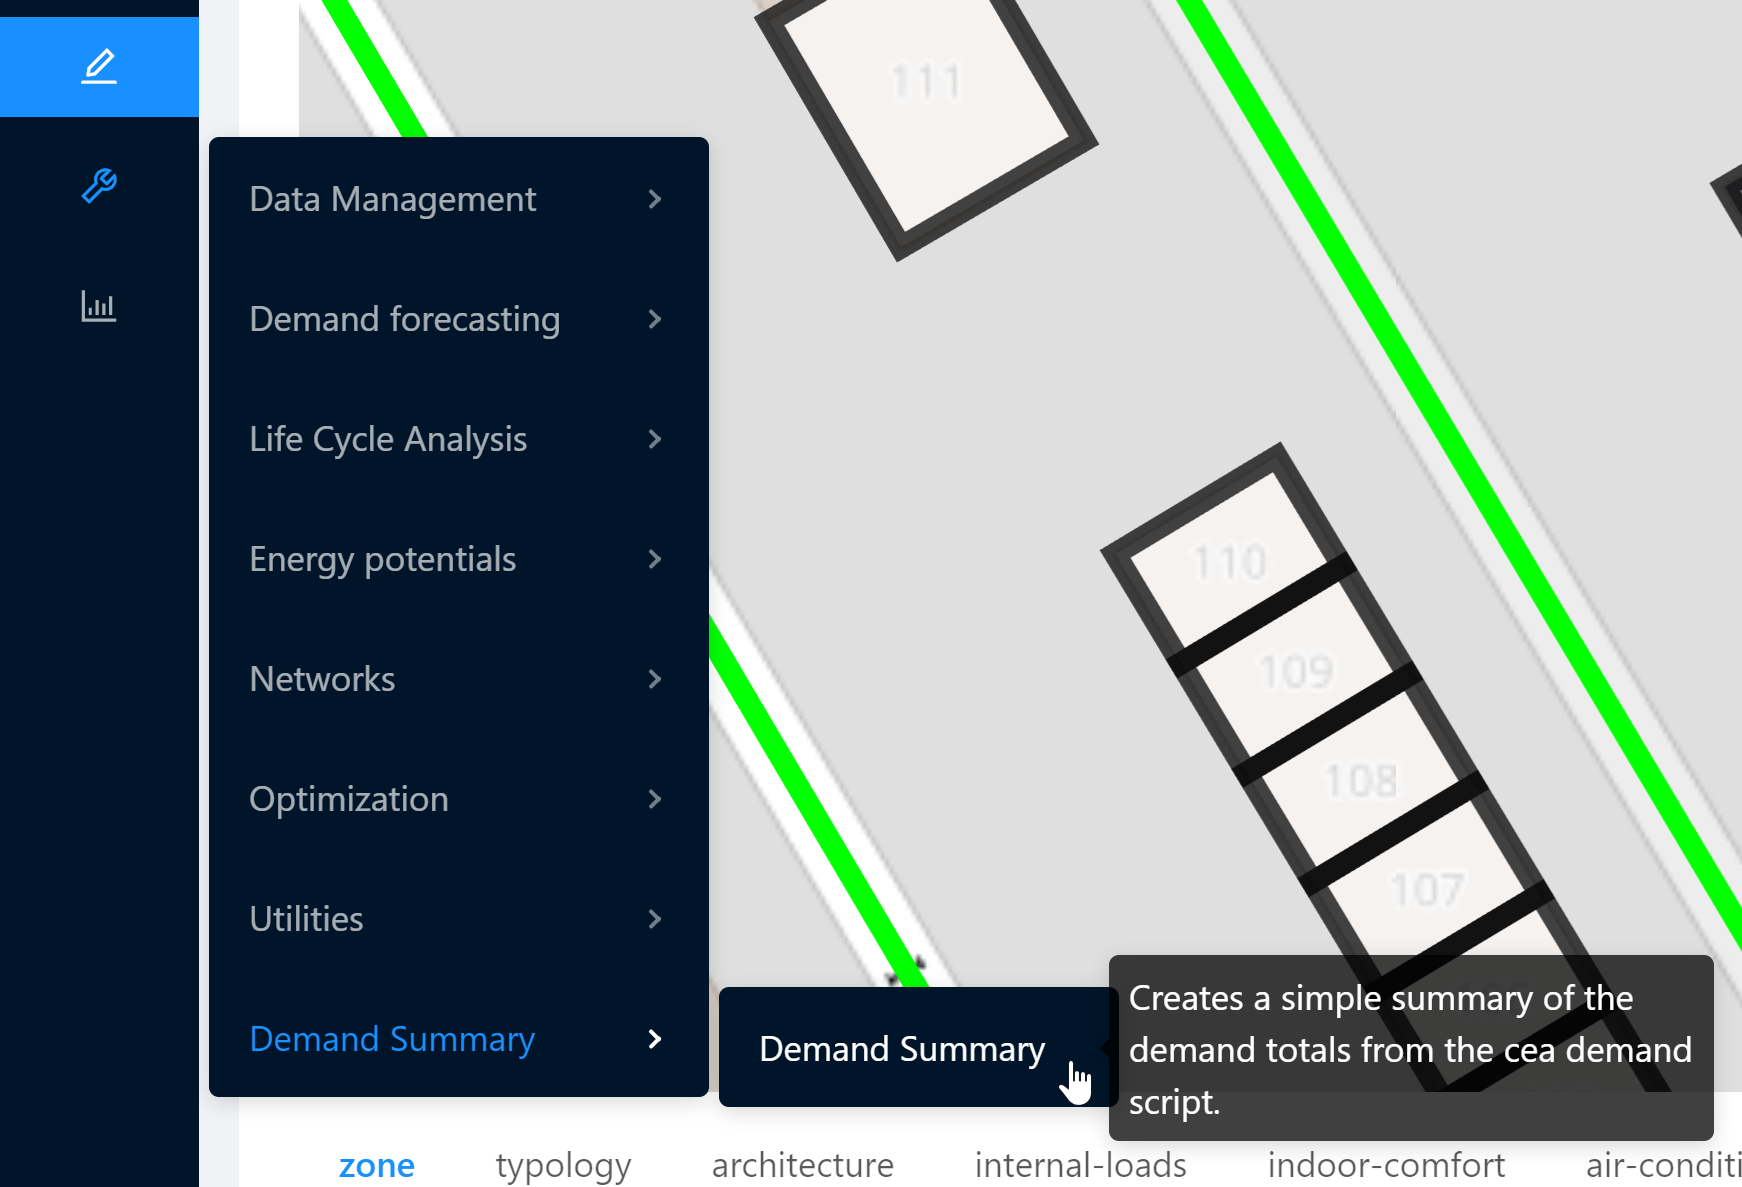
We've set up a repository with a sample CEA plugin on GitHub. When installed, it adds a new tool called "Demand Summary" to the CEA:
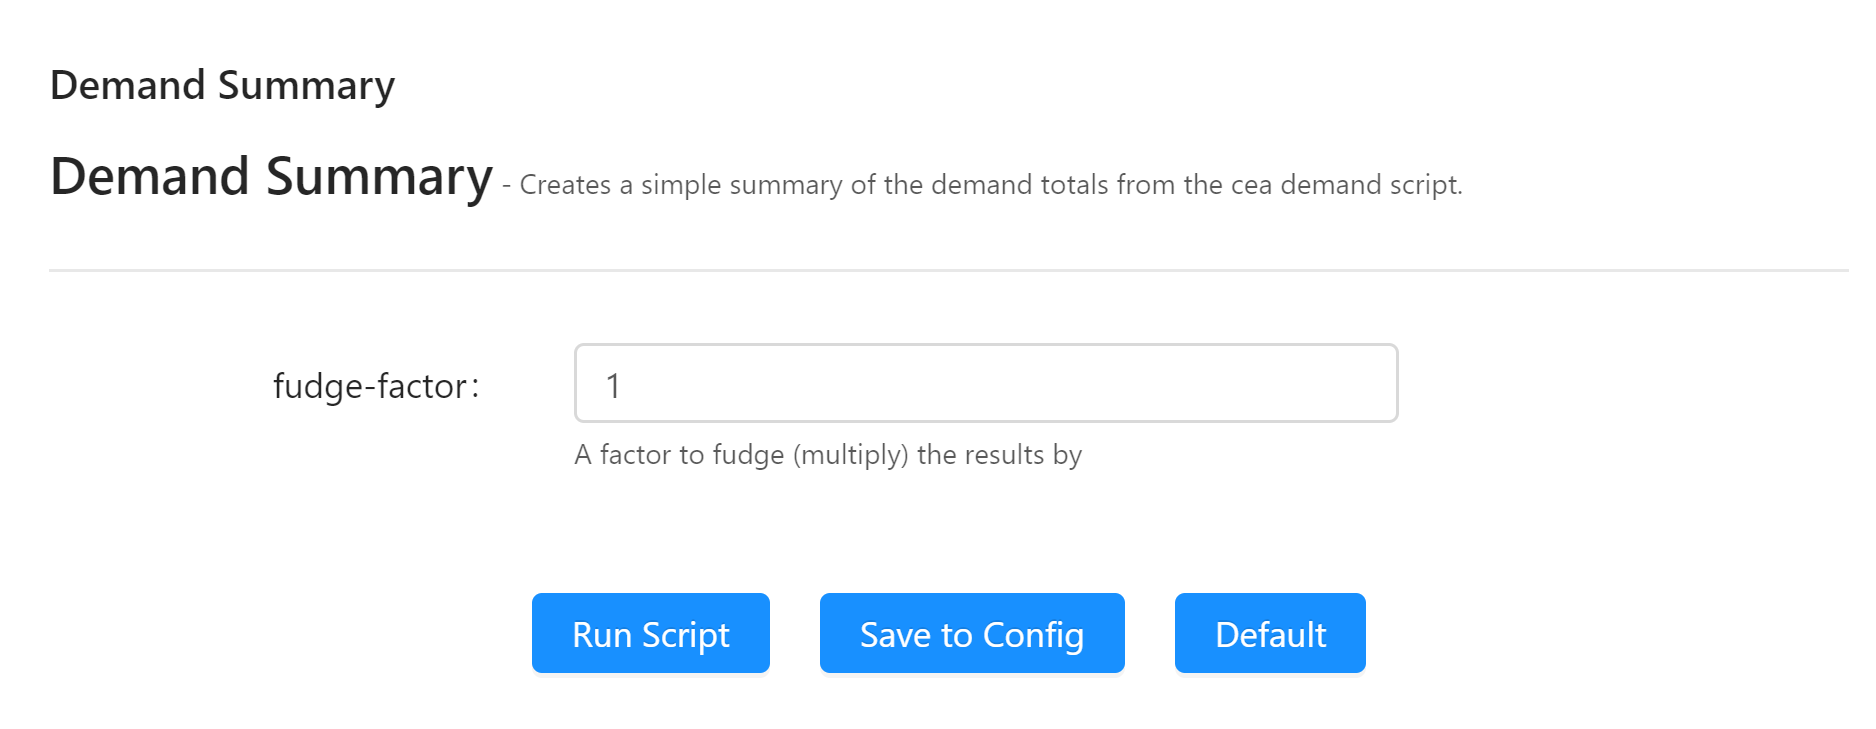
This tool defines a parameter fudge-factor:
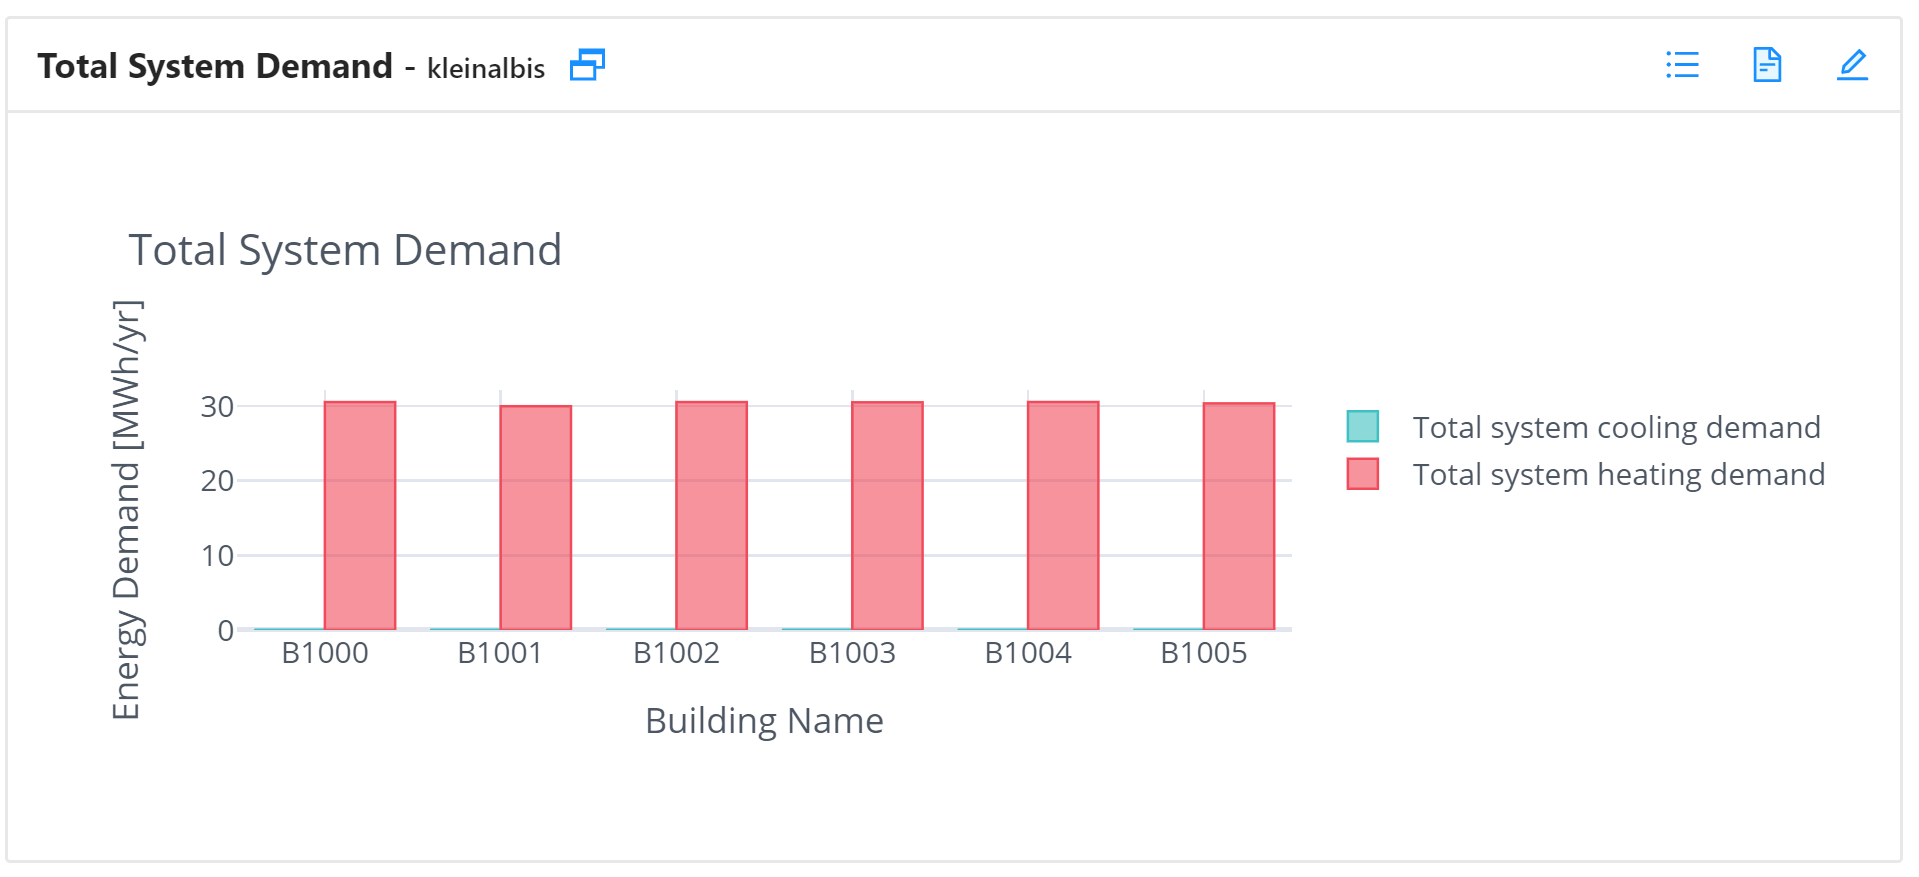
It also includes a new plot "Total System Demand":
I realize this is all a bit simplistic. That's on purpose: The template is supposed to give you a starting point for your very own awesome - and not distract you with a ton of code you'll need to go and delete.
Create a repository based on the CEA plugin template
Head over to the CEA plugin template repository on GitHub. You'll see a green button above the file list called "Use this template":
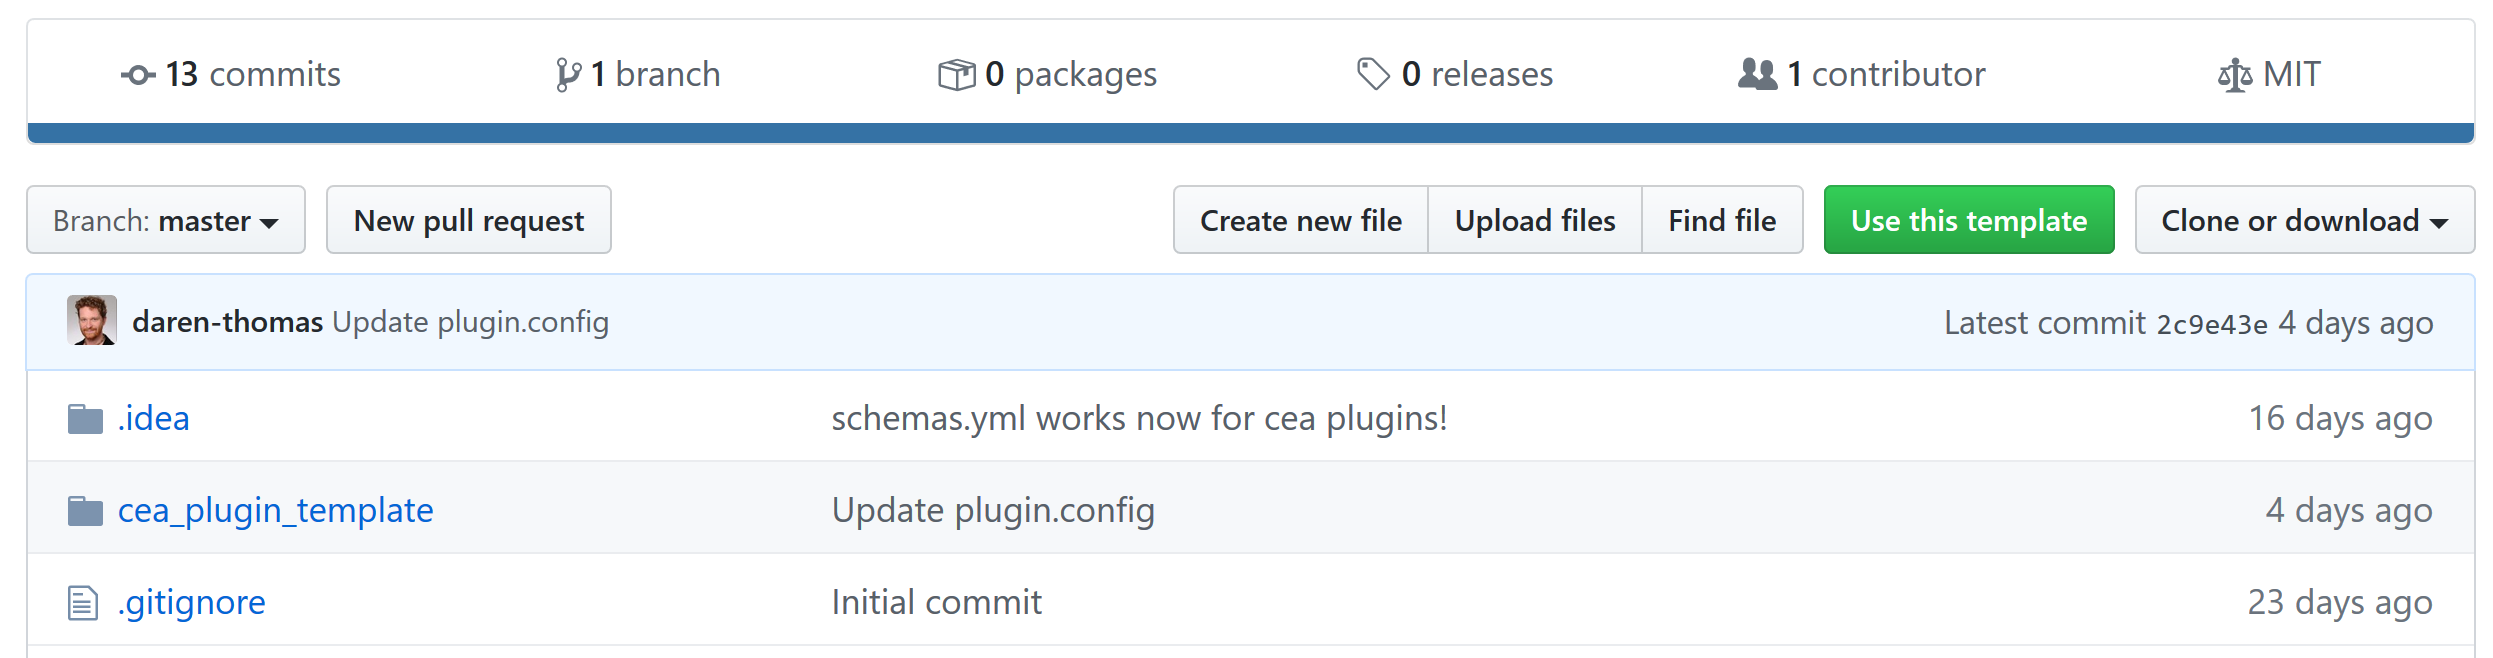
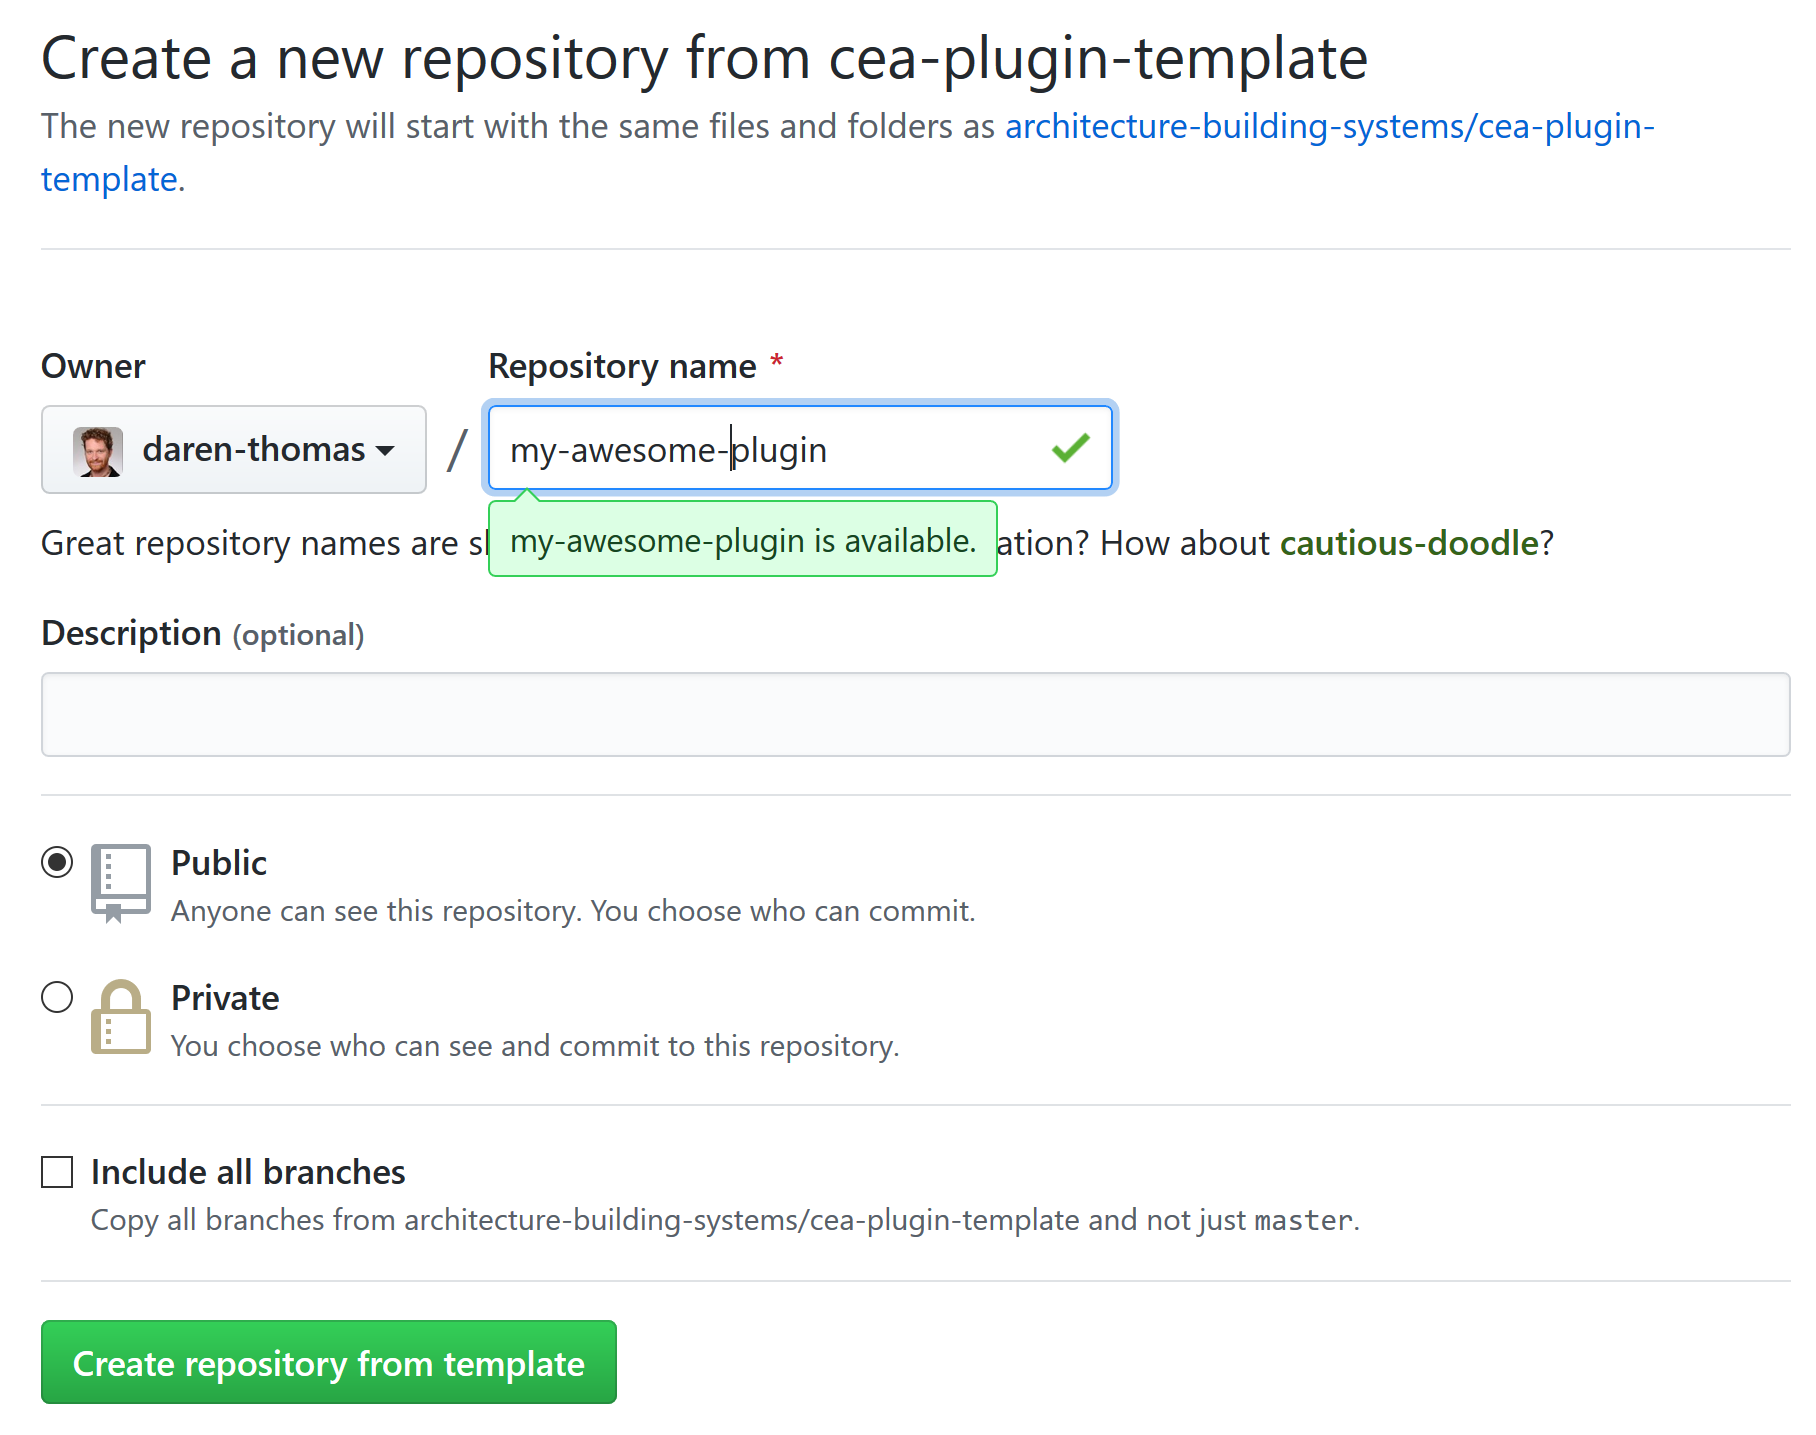
When you click this button, GitHub will let you create a new repository based on the files in this template - choose a name for your new plugin:
There. You're up and running! You'll need to figure out how to clone that repository to your local computer and start messing around - I'm sure the folks at GitHub can explain this better than I ever could.
CEA plugin template walkthrough
Let's take a look at the files in the template:
my-awesome-plugin
  │   .gitignore
  │   LICENSE
  │   README.md
  │   setup.py
  │
  \---cea_plugin_template
          demand_summary.py
          plots.yml
          plugin.config
          schemas.yml
          scripts.yml
          __init__.py
Note that you'll want to rename the package cea_plugin_template to something more meaningful to your plugin - this will form the first part of the fully qualified name of your plugin. You'll also want to come up with a new name for demand_summary.py. And give the rest of the files a quick look too...
In this article, we'll quickly discuss .gitignore, LICENSE, README.md and setup.py as well as _cea_plugin_template.
The files scripts.yml, demand_summary.py, schemas.yml, and plugin.config will be discussed in Part 4: How to add your own tools to the CEA.
The file plots.yml get's it's own article: Part 5: How to add your own plots to the CEA
.gitignore, LICENSE and README.md
These three files are not specific to CEA plugins at all - the cea-plugin-template is a GitHub repository and these files have meaning to git and GitHub:
.gitignore tells git to ignore certain files when commiting code to the repository
LICENSE describes the license of the plugin - cea-plugin-template uses the open source MIT License, the same license under which the CEA is published. It's a good idea to specify the license of your plugin - especially if you post the code anywhere. Your plugin does not have to be open source - that is up to you.
README.md contains the documentation that is shown when you visit the repository on GitHub.
setup.py
The setup.py file is used by python to install the plugin and to publish it to the Python Package Index (PyPI). The example in the template should be enough to get you up and running. Open it in your editor of choice and replace the contents of all strings to match your project - this includes information about the author, package name etc...
__init__.py
Python uses this file to mark the folder cea_plugin_template as a package. Normally, this file is empty.
Remember: You'll be renaming cea_plugin_template to a package name more suitable to your plugin.